How to Turn Your Photos from Zero to Hero in Lightroom
Photo editing software is a powerful tool to master; in fact, most of the images you see (online or in print) have been touched by some form of software. From making subtle touch-ups to reinventing images. With both Lightroom or Photoshop, you can edit however you want.
Page Contents
File & catalog your images
The most important part of cataloging your pictures is being as detailed as possible. This will be the difference in making your picture magically appear like Houdini, or going on a treasure hunt for the photo you can’t find.
We catalog our folders as follows:
- Photography
- 2018
- 2019
- 2020
- 2020-month-day name_of_the_shoot
- 2020-month-day name_of_the_shoot
- 2020-month-day name_of_the_shoot
- 2020-month-day name_of_the_shoot
- All (RAW’s)
- Final (JPG’s)
Use and edit in Lightroom
If you haven’t used Lightroom before; you should! It’s a digital photography tool that helps you import, organize, manage, edit, and find your images.
The core of Lightroom is its catalog where all your pictures and their information are stored, but it also includes a “Develop”-module where most photographers spend their time: the module allows you to digitally adjust the camera settings which are used in your pictures. From exposure and white balance to sharpening and lens distortion, the tool can adjust almost anything imaginable.
With Lightroom having so many different options, it’s important to have a workflow you can fall back on. Because without a workflow in place, you’ll be doing different things at different times, making it almost impossible to find your own editing style.
While there is no “correct” workflow you can follow, we decided to share ours to get you started!
Our Lightroom workflow
- Import and flag. Before we can start editing our last photoshoot, we import our pictures and look for the best ones. We flag those, so we only have to edit the pictures that have the potential to become great!
- Enable lens and profile corrections. We start by enabling our lens corrections because it has a minimal impact on the brightness of the photo.
- Crop and straighten. We continue by cropping and straightening our picture because it has a big impact on the final vibe of our shot. After adjusting this, we have our blank canvas to start the real work.
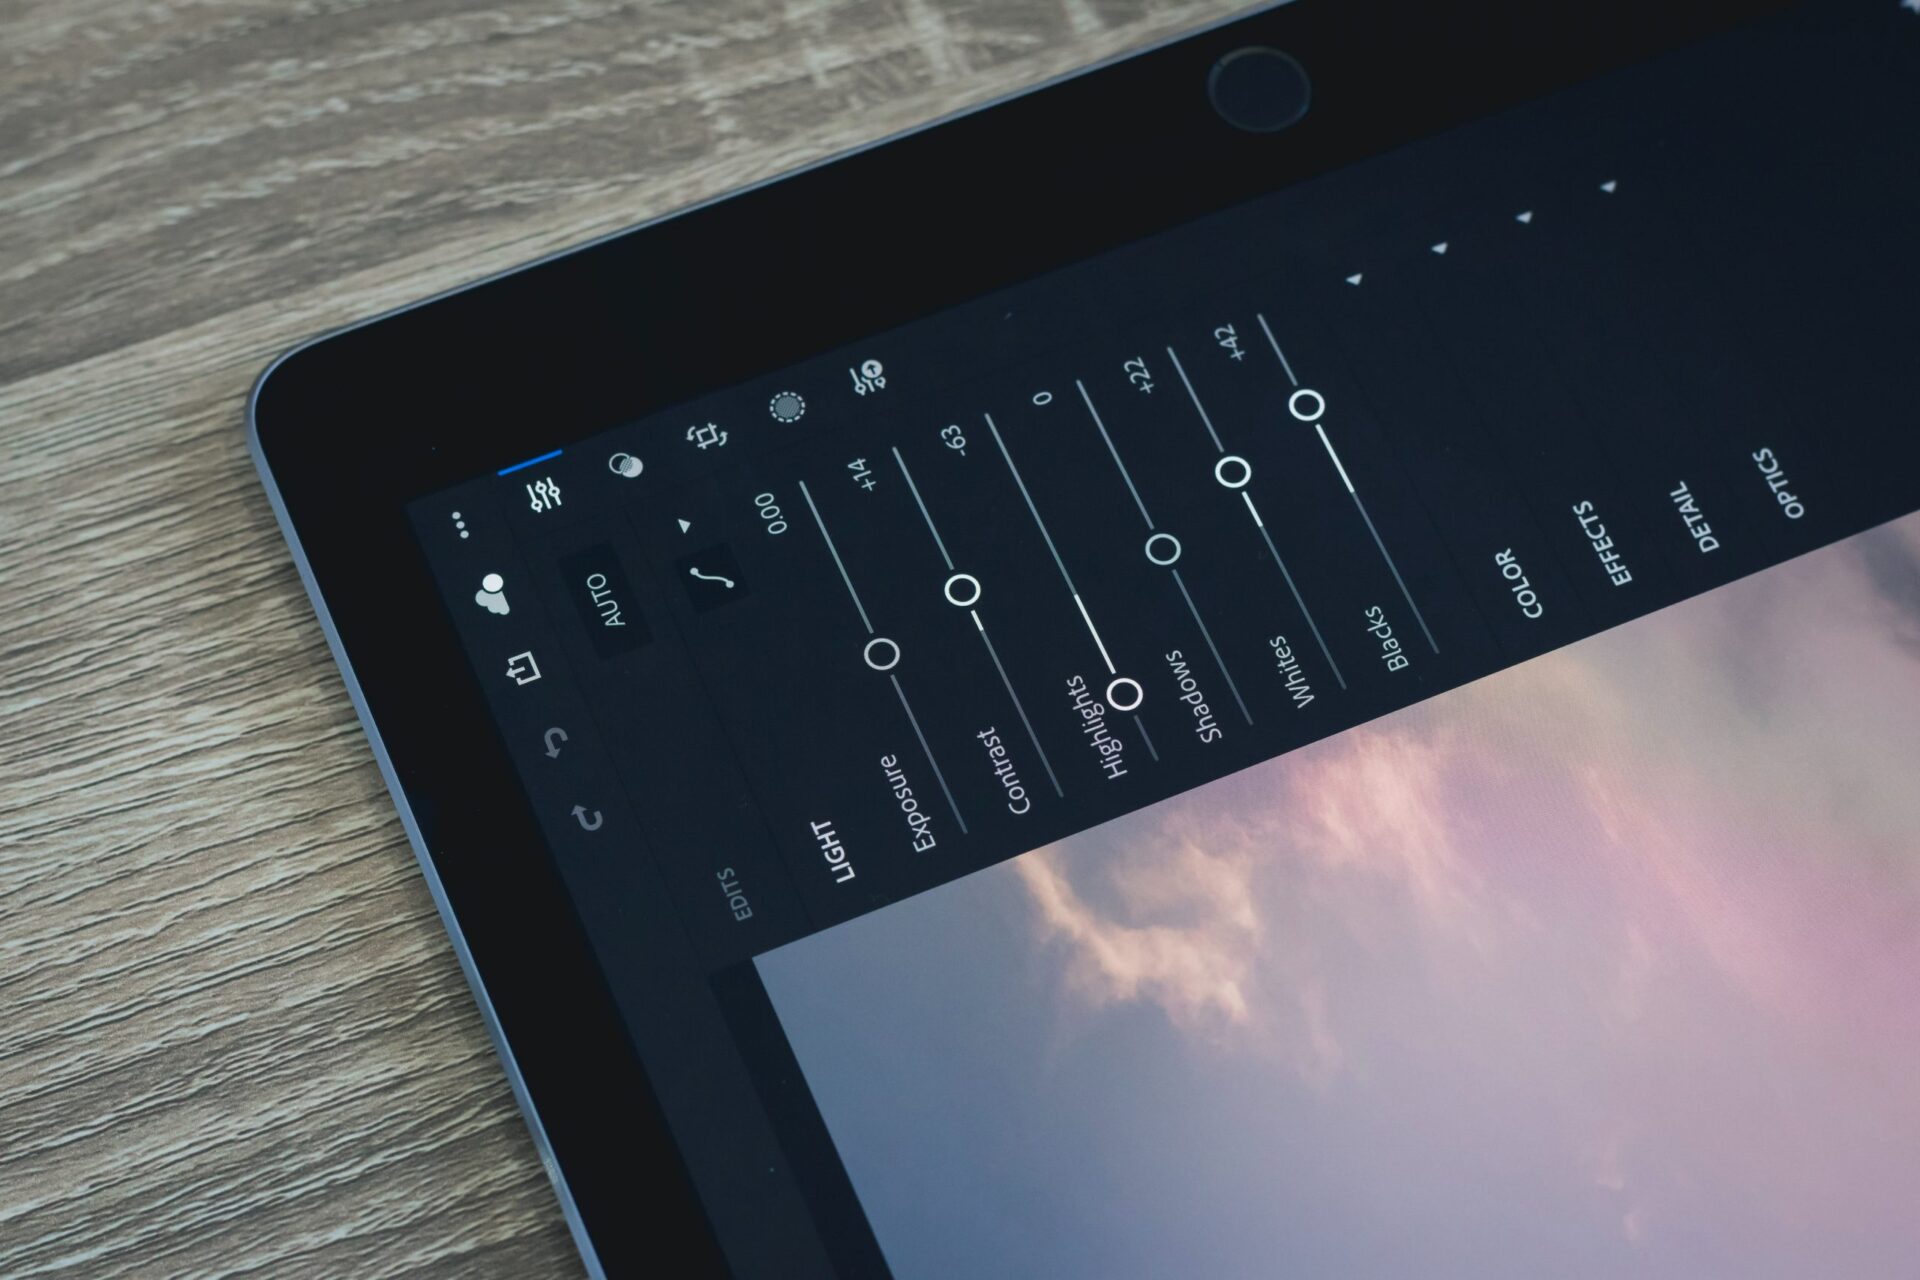
- Adjust our lights. In Lightroom’s basic panel, you have a few sliders which adjust the most basic settings of the photo: from white balance to brightness, to exposure.
- Play with the Tone Curve. Depending on the photo, we’ll want to adjust our tone curve. This is where we can change the “deepness” of our blue, green, and red channels separately.
- Extra edits, if needed. Some pictures will already be perfect after applying these few steps, others will need a bit more effort. Either Photoshop edits or basic Lightroom adjustments.
Tip: You might have read our review already, but we’re using the Loupedeck Live editing console to speed up our Lightroom workflow by using its customized controls.

Learn to use these Lightroom functions
The easiest way to learn is by looking up YouTube tutorials showcasing these functions, so you have a better idea of the possibility and the way you could use them. We took the time to list the most important functions in Landscape photography and listed them below. Make sure to master them, because this will improve your skills and pictures greatly.
Discover Radial filters
The Radial filters are a handy tool, to make local adjustments to a picture. We would use these filters in landscape photography for a lot of different reasons.
- We could use radial filters to add exposure to bring up specific details
- Selective saturation using the color mask tool in the radial filter mask
- Add masking to your sharpening
Learn how to manipulate light
Editing in Lightroom is – as the name might suggest – mostly playing with light. We advise you to look up as many light manipulation tutorials as you humanly can, to master this.
- Look into adding motivated lights
- Use a graduated filter to darken the sky (so it’s less distracting)
Start using presets
As a serious photographer, having your own cohesive style of photos is essential. In reality, this mostly means that you’ll have to create your vibe during the editing-process. Once you’ve found your vibe (Bright, Retro, Dark & Moody, etc.) you’ll always have to start your editing process with the same steps.
This is where Lightroom presets come in to make your life easy! Rather than re-applying every step to recreate the same vibe, this one-click photo editing tool helps you dramatically speed up your workflow while keeping the same professional look.
Use and edit in photoshop
While the Lightroom tools allow you to digitally alter a picture, as you would be able with your camera .. Photoshop goes a step further: it allows you to remove objects that got in the way while shooting a picture, but you could also edit people or objects in your picture while they were never there.
Content-Aware Patch tool
While Photoshop is the gold standard in the world of photo editing, we’ll only touch the basics: How we can get rid of unwanted distractions.
Photoshop has a Patch tool that allows us to replace a small area by a content-awareness fill, which is generated with the tool’s AI. Unfortunately, it doesn’t work very well with large areas.
The best export settings for web
We advise you to export your images in a .jpg file format, with sRGB color space. We like to keep our quality high, but resize our images to 2000px on their longest edge. We usually don’t use a watermark, but add our copyright information into the metadata.

