How To Scan Film With A Digital DSLR Camera in 2024
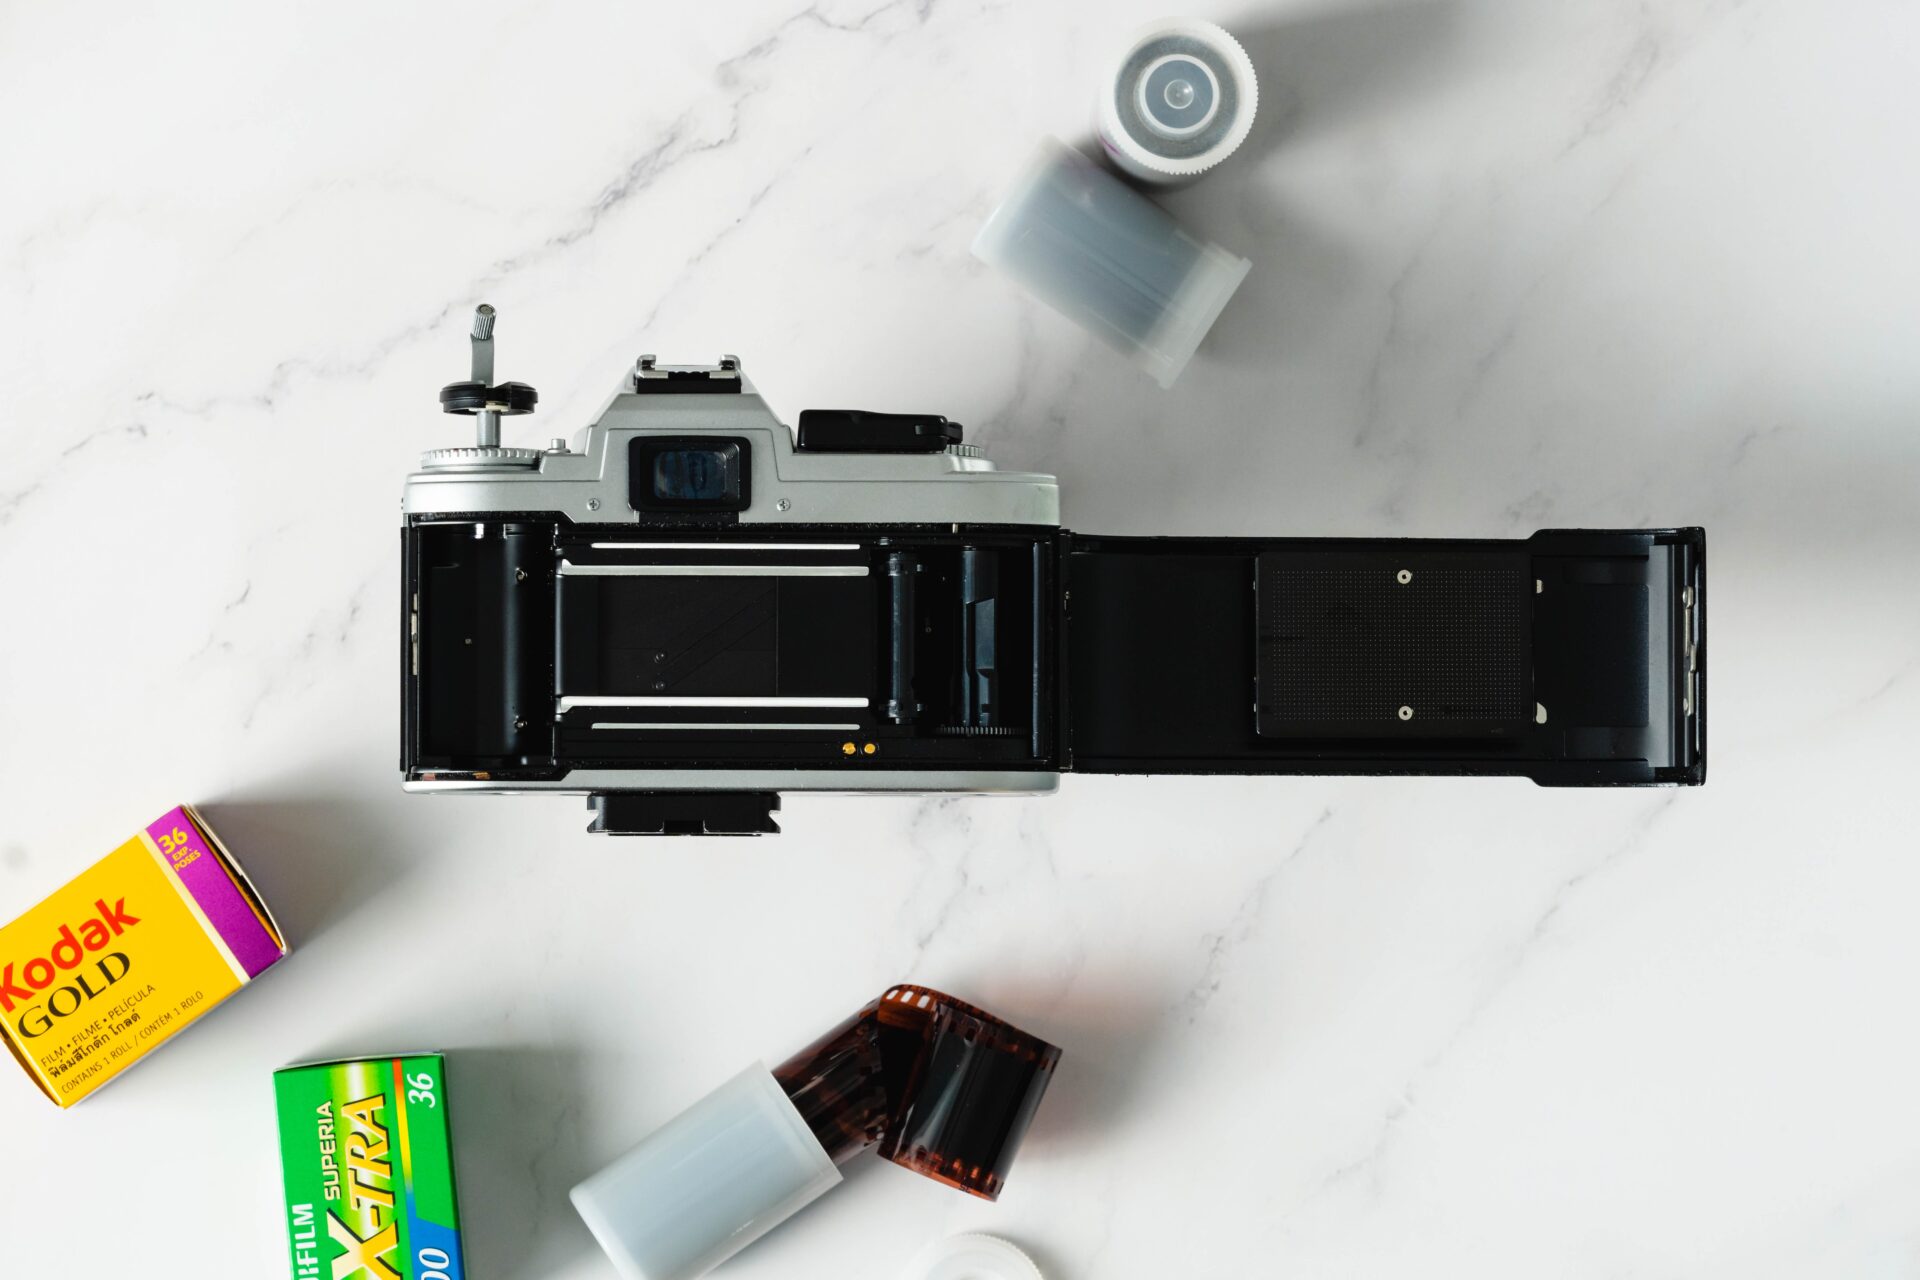
Film photography has been making a comeback in recent years, and for good reason. The beauty and unique character of film photographs cannot be replicated by digital cameras alone. However, with the rise of digital technology, many photographers are now turning to digitize their film negatives in order to share their work online or make prints. Whether you’re shooting with a classic Nikon EM or an iconic Nikon FE2, using a digital DSLR camera to scan film negatives is a cost-effective and versatile alternative to dedicated film scanners.
This article will guide you through how to scan film negatives using a digital DSLR camera. We’ll cover everything from setting up your camera and lighting to preparing and securing your film negatives for scanning. We’ll also provide tips for achieving the best possible results and recommend some of the best film holders and tripods on the market. With our step-by-step guide, you’ll be able to easily digitize your film negatives and unlock your film photography’s full potential.
Page Contents
How to scan film with a digital Camera?
Scanning film with a digital camera is a popular alternative to a traditional film scanner. While the process can be more time-consuming than a dedicated scanner, it allows for greater control over the scanning process and can yield high-quality results.
How To Scan Film – secure the film
it is important to secure the film to prevent movement or shifting during scanning. This can be done using a film holder to keep the film flat and in place while photographing it. Many different types of film holders are available, ranging from generic models that can work with multiple scanners to more specialized holders designed for specific types of film or cameras.
How To Scan Film – preparations
Before scanning, it is important to prepare the film for optimal results. This includes cleaning the negatives to remove any dust or debris that can cause scratches or other imperfections. A soft-bristled brush or an air blower can gently remove particles from the film surface. Using gloves when handling the film is also recommended to prevent fingerprints or other marks.
What camera settings do I need to photograph film?
When photographing the film, there are several camera settings to consider. The most important is to set the camera to a low ISO to minimize noise and grain in the final image. Additionally, it is important to use a lens with good sharpness and color reproduction, such as a macro lens or a high-quality prime lens. A tripod is also essential to ensure sharp, consistent results.
To capture the best possible image, shooting in RAW format and adjusting the exposure, contrast, and color balance during post-processing is recommended. This will give you more control over the final result and allow you to correct any issues that may have arisen during scanning.
Best Setup for digitizing your film with a DSLR
Digitizing film negatives with a DSLR requires some specific equipment to get the best results. While there are many options available, here are some recommendations that can help you achieve high-quality scans.
Camera for scanning film negatives
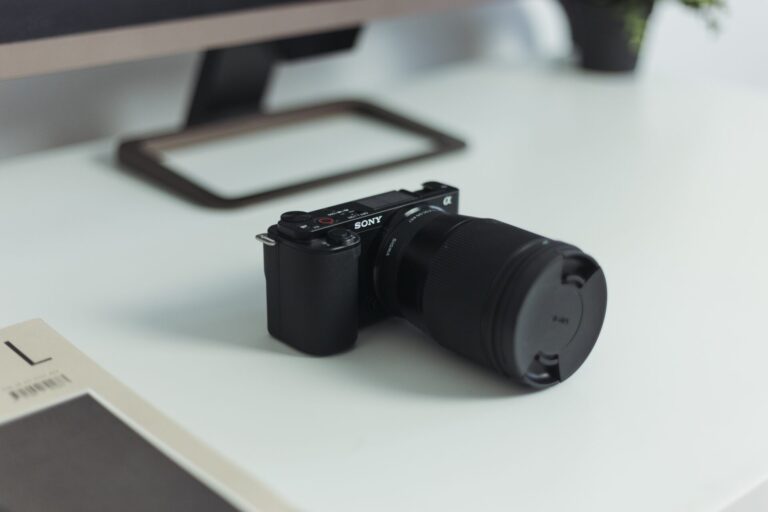
The Sony A7IV is an excellent choice for digitizing film negatives with a DSLR because of its high resolution and excellent dynamic range. With a 33-megapixel full-frame sensor, it’s capable of capturing a tremendous amount of detail in your scans. This high resolution means you can capture fine details in your negatives, such as grain and texture, that might be lost with lower-resolution cameras.
Moreover, the Sony A7IV has a wide dynamic range that allows it to capture a broad range of tones, from bright highlights to deep shadows. This dynamic range is essential when digitizing film negatives because it ensures you capture all the details in the highlights and shadows of your negatives. The camera’s high dynamic range helps preserve the tonal values of your negatives, ensuring you get an accurate representation of the original image.
Best lens for scanning film negatives with a DSLR
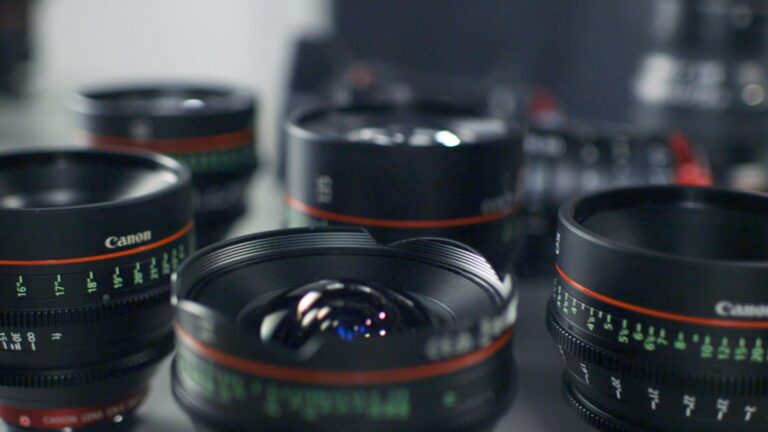
Firstly, the lens is a crucial component of any digitizing setup, as it can affect the sharpness and clarity of the scanned images. For the Sony A7IV, a macro lens is an excellent choice because it allows you to get up close and capture fine details. The Sony FE 90mm f/2.8 Macro G OSS lens is a perfect choice for digitizing film negatives, as It’s specifically designed for Sony’s full-frame mirrorless cameras. Hence, it provides excellent image quality, and it has built-in image stabilization to minimize camera shake.
Additionally, the lens is sharp and renders colors accurately, which is essential for capturing the nuances of film negatives.
Light Table for scanning film
Next, a light table is necessary to backlight your film negatives and make it easier to see the images clearly. The Kaiser Slimlite Plano LED Light Box is an excellent choice for digitizing film negatives. It’s slim, lightweight, and produces a bright, even light that helps you get a clear view of the negatives. With its slim design, it’s easy to store and transport, making it a great option for those who need to move their setup frequently.
Tripod for scanning film
The Vanguard Alta Pro 263AT Aluminum Tripod Legs is an excellent tripod for digitizing film negatives with a DSLR. Its versatile design allows for a wide range of positioning options, making it easy to adjust the camera to the perfect angle for capturing your negatives. The tripod’s central column can be tilted up to 180 degrees, providing additional flexibility for capturing shots from different angles. Additionally, the tripod’s legs can be adjusted to three different angles, making it easy to get low-angle shots or adjust the tripod’s height to suit your needs.
Airblower
Finally, an air blower is useful for removing dust and debris from your negatives before scanning. The Giottos Rocket Blower is a popular choice among photographers; It’s small, lightweight, and produces a strong burst of air to clean your negatives. The blower’s design ensures that it won’t introduce any new dust or debris to your negatives, so you won’t have to worry about further contaminating your film.
Post-processing the digital negatives
After scanning your film negatives with a digital camera, there is often some post-processing that needs to be done in order to achieve the best possible results. This can include adjusting the exposure, contrast, and color balance of the image and removing any dust or scratches that may have appeared during scanning.
One powerful tool for post-processing film negatives after you scan film is Negative Lab Pro. This plugin for Lightroom allows you to quickly and easily convert your film negatives into positive images, with full control over color balance and tone. Negative Lab Pro can save you a lot of time and effort in post-processing, allowing you to achieve professional-level results with minimal effort.
We have written a comprehensive guide on using Negative Lab Pro to get the most out of your film scans to help you with post-processing.

